Start App Ads (start.io) Getting Started Guide for Android
Start App Ads (start.io) Getting Started Guide for Android
Start App Ads are the ad networks alternative to other ad networks like Facebook audience network or Google Admob or AppLovin Mopub Ads.
Ad Formats supported by Start App Ads are
- Splash Ads (Ads shown when we open our app, enabled by default, disable it if you don't want to show them)
- Return Ads (Ads shown when the user returns to your application after a certain period of time. enabled by default, have to disable if you don't want this).
- Banner Ads (300*50 size)
- MRec Ads (300*250 size)
- Cover Ads
- Interstitial Ads (Full-Screen Ads)
- Exit Ads (When you exit from an activity, use it in onbackpressed method).
- Auto Interestitials (Automatically shown interstitial when you enter or exit from activity at a given interval of time and give frequency).
- Rewarded Ads (Rewarded Video Ads which will give rewards to users when the ad is finished.
- OfferWall Ads
- Automatic (Shown Best ad for you (recommended))
- Fullscreen
- Rewarded Video
- Native Ad
So, Now we will getting started to integrate these into our Android App.
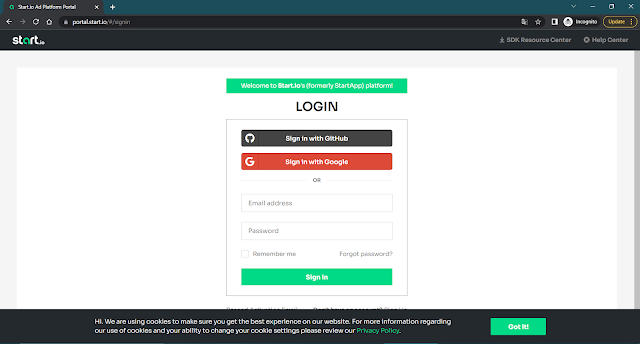
Open Start.io and log in with your email id or a google account.
- Complete your account information
- Add an App (if not available on playstore, the tick that checkbox)
- Your app id will be shown there.
- Add app-ads.txt (Blogger Version)
- Add a blogger website in your account information, if you don't have one then create it on www.blogger.com.
- Then in settings enable custom ads.txt.
Blogger settings for app-ads.txt Custom ads.txt in Blogger for app-ads.txt - Copy the app-ads.txt code form start app ads home page
- Then paste the copied code in custom ads.txt in your blogger.
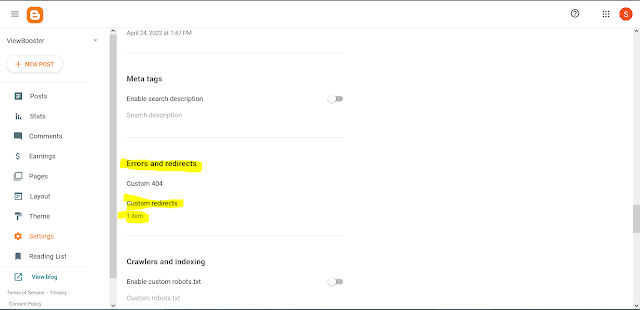
- Then scroll up in settings and find custom redirection.
Custom redirection in Blogger for App-Ads.txt - write there /app-ads.txt to /ads.txt there and click save.
app-ads to ads.txt redirection - And your app-ads.txt entered successfully.
- Then Create an Android Project and open it.
In your Android Project, Open AndroidManifest.xml file and paste it in bottom section under applicaton Tag.
Android Mainifest.xml
  <meta-data
       android:name="com.startapp.sdk.APPLICATION_ID" android:value="atart app ads" /> <!-- for test ads no need to change this -->
     <!-- Return ads are enabled by default ads appear everytime we return from activity -->
     <!-- users are frustrating with this app sometimes so disable it manually if you want -->
     <meta-data
       android:name="com.startapp.sdk.RETURN_ADS_ENABLED" android:value="false" />
Then in your app-level build.gradle add this library dependency.
build.gradle
implementation 'com.startapp:inapp-sdk:4.9.1'
Then in your MainActivity or Splash screen activity.
Use this code to initalize Start App SDK and enable test ads also.
Mainactivity.java
 public class MainActivity extends AppCompatActivity {
   @Override
   protected void onCreate(Bundle savedInstanceState) {
     super.onCreate(savedInstanceState);
     setContentView(R.layout.activity_main);
     StartAppSDK.init(this,"Your App Id from Start App Website",false);  // 3rd parameter is to enable or disable return ads
     StartAppSDK.setTestAdsEnabled(true); //remove this line when publish for play store.
   }
 }
Next,
Follow us for more posts like this,
Subscribe to Harpreet studio on Youtube
Like Harpreet Studio on Facebook
Follow me on Instagram , Harpreet Studio on Instagram,
Subscribe to Harpreet studio on Youtube
Like Harpreet Studio on Facebook
Follow me on Instagram , Harpreet Studio on Instagram,
Install our Android app from Google Play store


No comments